I have been baking brownies for twenty years, and I have made every mistake in the book — cakey when I wanted fudgy, dry when I wanted moist, coffee flavor so strong it tasted like I dumped a latte on top. After testing over a dozen variations in the last two months, I finally nailed the recipe for the fudgiest espresso brownies I have ever pulled from an oven.
The secret is not complicated: more butter than flour, real espresso instead of instant, and absolutely no leavening agent. This article gives you the base recipe, the science behind why it works, three variations for different occasions, and the troubleshooting guide I wish I had had when I started.
Why Espresso Makes Brownies Better (The Science)
Here is something most recipes do not explain: espresso does not make brownies taste like coffee. It makes them taste more like chocolate.
Coffee and chocolate share many of the same aromatic compounds — both contain pyrazines and furanones that our brains associate with deep, roasted, complex flavors. When you add espresso to a chocolate recipe, those shared compounds stack on top of each other, amplifying the chocolate experience without adding an identifiable coffee taste. It is the same reason high-end chocolate makers have used coffee as a background flavor for centuries.
The key is dosage. Too much espresso and you cross the line into a coffee dessert. The amount in my base recipe — 2 tablespoons of brewed espresso — stays firmly in the territory of intensely chocolatey brownies. Most people will not even guess there is coffee in them unless you tell them.
The Base Recipe: Fudgy Espresso Brownies
Makes: 16 brownies | Active time: 15 minutes | Bake time: 22-25 minutes | Total time: 40 minutes
Ingredients
- 3/4 cup (1.5 sticks) unsalted butter
- 8 oz semi-sweet chocolate, chopped (not chips — bars melt more evenly)
- 1 cup granulated sugar
- 3 large eggs, room temperature
- 2 tablespoons brewed espresso, cooled to room temperature
- 1 teaspoon vanilla extract
- 3/4 cup all-purpose flour
- 1/4 cup unsweetened cocoa powder
- 1/2 teaspoon sea salt
Equipment
- 9×9-inch baking pan
- Parchment paper
- Medium saucepan
- Whisk
- Spatula
- Wire cooling rack
Step-by-Step Instructions
Step 1: Prep the pan. Preheat oven to 350 degrees F (175 degrees C). Line a 9×9-inch baking pan with parchment paper, leaving a 2-inch overhang on two sides. This is not just for easy removal — it also insulates the bottom edges, preventing overbaking on the corners.
Step 2: Melt butter and chocolate. Cut butter into tablespoon-sized pieces and place in a medium saucepan with chopped chocolate. Melt over the lowest heat your stove allows, stirring constantly. Remove from heat the moment the last pieces of chocolate disappear into the mixture. The residual heat will finish the job. If you see steam, your heat was too high — chocolate scorches easily and there is no recovering it.
Step 3: Add sugar. Stir sugar into the warm (not hot) chocolate mixture. The sugar will not fully dissolve — that is fine. It will dissolve further during baking and contribute to the crackly top crust that is the hallmark of a great brownie.
Step 4: Add eggs. Add eggs one at a time, whisking vigorously after each addition. This is where you build the structure. After the third egg, whisk for a full 60 seconds — you should see the batter become slightly lighter in color and glossy. This aeration creates the thin, papery crust on top.
Step 5: Add espresso and vanilla. Stir in the cooled espresso and vanilla extract. The espresso must be room temperature or cooler — hot espresso will scramble the eggs you just carefully incorporated. If you just pulled the shot, stick it in the freezer for 5 minutes.
Step 6: Fold in dry ingredients. Sift flour, cocoa powder, and salt directly into the bowl. Fold with a spatula — not a whisk, not a spoon — using broad strokes from the bottom of the bowl. Stop the moment the last streak of flour disappears. Overmixing develops gluten, and gluten is what makes brownies cakey. We want fudgy, which means minimal gluten development.
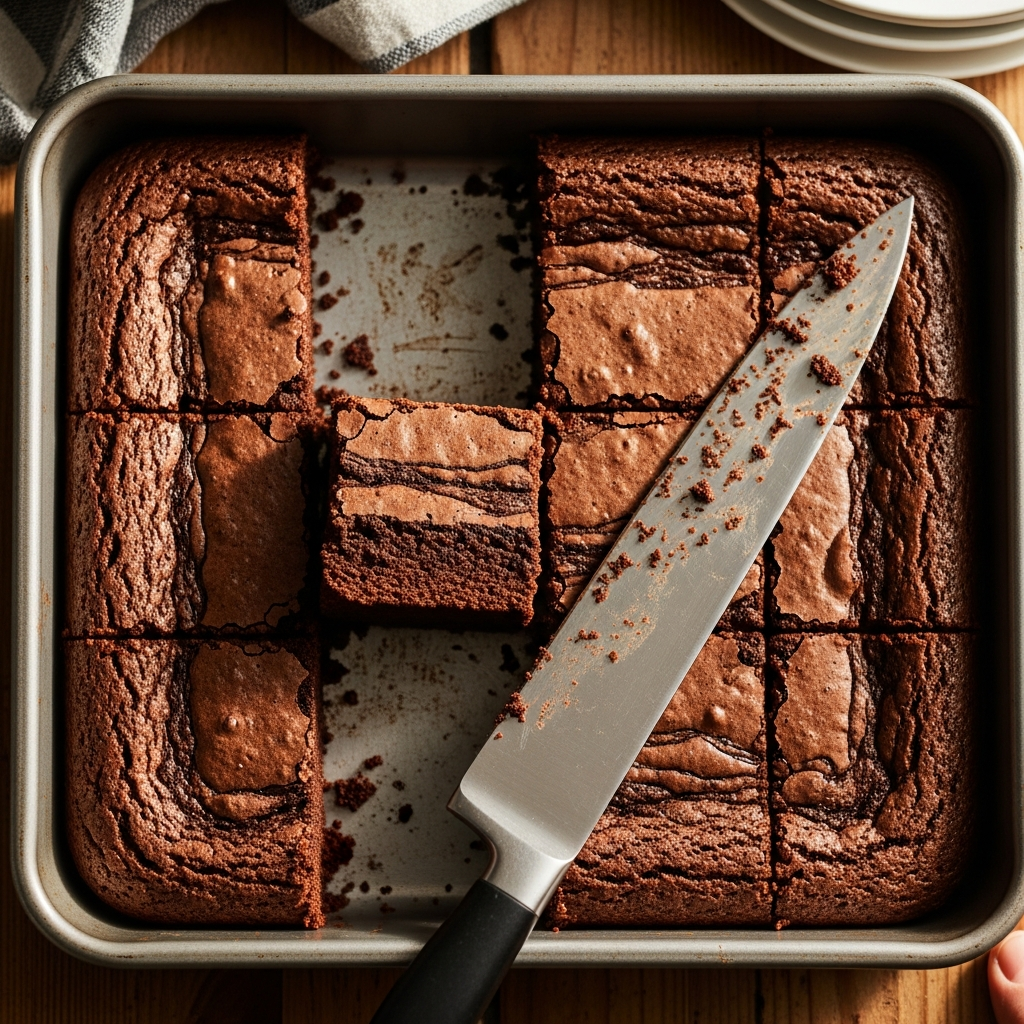
Step 7: Bake. Pour batter into the prepared pan and spread evenly. Bake 22-25 minutes. I know you want to leave them in longer. Do not.
Step 8: Cool completely. Let brownies cool in the pan on a wire rack for at least 1 hour. I know this is torture. But brownies continue cooking via residual heat for the first 20 minutes out of the oven, and the internal structure does not set until they are at room temperature. Cutting into hot brownies gives you a gooey, falling-apart mess — which some people want, but the texture improves dramatically with patience.
The Toothpick Test: How to Know When Brownies Are Done
This is the most common question I get, and the answer is counterintuitive: you want the toothpick to come out with wet, fudgy crumbs — not clean.
Underdone: Toothpick comes out with liquid batter. Give them 2-3 more minutes.
Perfect: Toothpick comes out with moist crumbs clinging to it. Some wet chocolate smear is fine. Pull them now.
Overdone: Toothpick comes out clean. Your brownies will be cakey, not fudgy. Still edible, but not what we are going for.
The number one mistake home bakers make with brownies is overbaking. When in doubt, pull them early. They will firm up as they cool, and a slightly underdone brownie eaten at room temperature is always better than an overbaked one. This recipe has more butter than flour specifically to protect against dryness, but even this ratio cannot save a brownie that stayed in the oven 10 minutes too long.
Why This Recipe Works: The Fudgy Formula
The difference between fudgy and cakey brownies comes down to three ratios:
- Fat-to-flour ratio: This recipe uses 3/4 cup butter plus 8 oz chocolate (which contains cocoa butter) against only 3/4 cup flour. That high fat-to-flour ratio is what keeps the center dense and moist.
- No leavening agent: No baking powder, no baking soda. Leavening creates air pockets that make brownies rise and become cakey. We do not want rise. We want dense.
- Minimal mixing: Gluten develops when flour meets liquid and gets agitated. Less mixing means less gluten means less cake-like structure. Fold until the flour just disappears and stop.
These three principles apply to all brownie recipes, not just this one. If you have a brownie recipe that keeps turning out cakey, check these three things first — one of them is almost always the culprit.
Variation 1: Salted Caramel Espresso Brownies
This is the variation I make for special occasions. The salted caramel swirl adds complexity without overwhelming the chocolate-espresso base.
Additional ingredients:
- 1/2 cup store-bought caramel sauce (I use Ghirardelli — it has the right consistency for swirling)
- 1 teaspoon flaky sea salt (Maldon)
Method: Make the base recipe as written. Pour half the batter into the pan, dollop half the caramel sauce on top in spoonfuls, then add the remaining batter. Dollop the rest of the caramel on top. Use a knife or toothpick to swirl in a figure-eight pattern — do not over-swirl or you will lose the visual contrast. Sprinkle flaky salt over the top before baking. Bake as directed.
The caramel layer creates pockets of gooey sweetness throughout the brownie. The flaky salt on top hits your tongue first and makes the chocolate and espresso flavors pop. Make these once and you will be asked to bring them to every gathering.
Variation 2: Mocha Cream Cheese Brownies
A tangy cream cheese layer swirled through espresso brownies. The contrast between the rich brownie base and the light, tangy cream cheese is why cheesecake brownies exist — and why they are always the first to disappear from a potluck.
Cream cheese layer:
- 8 oz cream cheese, softened to room temperature
- 1/4 cup sugar
- 1 large egg
- 1 tablespoon espresso powder
- 1/2 teaspoon vanilla extract
Method: Beat cream cheese and sugar until smooth and fluffy. Add egg, espresso powder, and vanilla, and mix until just combined. Pour two-thirds of the brownie batter into the pan. Spread the cream cheese mixture evenly on top. Dollop the remaining brownie batter over the cream cheese in spoonfuls, then swirl with a knife for a marbled effect. Bake at 350 degrees F for 28-30 minutes (the cream cheese layer adds moisture, so these need a few extra minutes). The cream cheese layer should be set but still slightly jiggly in the center.
Adding espresso powder directly to the cream cheese layer is my twist on the classic — it creates a latte-flavored cream cheese that complements the dark chocolate brownie base. Without it, you have a good brownie. With it, you have a great one.
Variation 3: Espresso Brownie Bites
The exact same base recipe, portioned into mini muffin tins for built-in portion control. These are perfect for parties, lunchboxes, or when you want just a bite without cutting into a full pan.
Method: Prepare the base brownie batter as directed. Spray a 24-cup mini muffin tin generously with cooking spray (or use mini paper liners). Fill each cup about 3/4 full — a small cookie scoop works perfectly. Bake at 350 degrees F for 10-12 minutes. Yes, only 10-12 minutes. They are tiny, and they overbake fast. Start checking at 10 minutes. The tops should look set but the centers should still be slightly soft when pressed gently.
Let them cool in the tin for 5 minutes, then pop them out onto a wire rack. They will release easily if you greased the tin well. Each bite is about 80 calories, which makes them the most controlled way to enjoy espresso brownies without eating half a pan (which I have done with the full-size version, no regrets).
Nutrition per bite (makes 24): 82 calories | 1g protein | 9g carbs | 5g fat
Tips From My Testing
Use Real Espresso, Not Instant
I tested this recipe with brewed espresso, instant espresso dissolved in water, and instant coffee dissolved in water. Real brewed espresso produced the deepest flavor. Instant espresso was a close second. Regular instant coffee was noticeably thinner — you would need to double the amount to match.
If you have a Nespresso machine, a double espresso capsule gives you the exact 2 tablespoons you need. Just let it cool first.
Chocolate Quality Matters
Use a chocolate bar, not chocolate chips. Chips contain stabilizers that help them hold their shape — great in cookies, counterproductive in brownies where you want the chocolate to melt completely into the batter. Ghirardelli baking bars are my everyday choice. Guittard is worth the upgrade for special occasions.
Room Temperature Eggs
Cold eggs can cause the melted chocolate-butter mixture to seize — the fat solidifies into grainy lumps. Room temperature eggs incorporate smoothly. If you forgot to take them out, submerge them in warm (not hot) water for 5 minutes.
Day-After Brownies Are Better
This is the best-kept secret in brownie baking: brownies taste better the next day. The flavors meld overnight, the fudgy center firms up to the perfect texture, and the espresso notes deepen. If you can exercise the restraint, bake them the evening before you need them.
Frequently Asked Questions
Can I taste the coffee in these brownies?
At the 2-tablespoon level in the base recipe, most people cannot identify the coffee flavor. It reads as really rich, intense chocolate. If you want a noticeable coffee presence, increase to 3 tablespoons of brewed espresso or add 1 tablespoon of espresso powder to the dry ingredients. The variations with espresso powder in the cream cheese layer (Variation 2) have a more identifiable coffee taste.
Can I use an 8×8 pan instead of 9×9?
Yes, but your brownies will be thicker and need 3-5 extra minutes of bake time. An 8×8 pan produces about 1-inch-thick brownies from this recipe. A 9×9 produces slightly thinner ones with more crackly surface area. I prefer 9×9 for the higher crust-to-center ratio, but both work. Do not use a 9×13 pan — the batter will be too thin and your brownies will overbake.
How do I store espresso brownies?
Room temperature in an airtight container for 3-4 days. Refrigerator for up to one week (bring to room temperature before eating — cold brownies are dense and lose their fudgy texture). Freezer for up to 3 months: cut into squares first, wrap individually in plastic wrap, then place in a freezer bag. Thaw at room temperature for 30 minutes.
Can I make these gluten-free?
Yes. Replace the 3/4 cup all-purpose flour with 3/4 cup almond flour. The texture will be slightly different — almond flour brownies are denser and grainier — but the high fat content in this recipe masks the difference better than most. Do not use oat flour; it absorbs too much moisture and will dry them out.
What coffee pairs best with espresso brownies?
I like a medium roast with stone fruit notes — something from Ethiopia or Kenya — because the brightness cuts through the richness of the brownie. A dark roast with another dark, fudgy dessert can be overwhelming. A light citrusy pour-over provides beautiful contrast. Or go full indulgence with a carajillo cocktail — the Licor 43 and espresso combination alongside a brownie is an experience.
For more coffee-flavored snacks and desserts, check out our coffee protein balls (no baking required) or our full guide to snacks that pair with coffee.